
Show purchases and balances clearly
Give volunteers secure ways to help
See how this feature can simplify your next fundraiser.


See how this feature can simplify your next fundraiser.
Step One: Locate your event in the mobile app. You can navigate to your event from the main dashboard in the PayBee app and then select it from there. Step Two: Find the guest who needs to make a payment. You can go to ‘Donor Lookup’ under your event and search for them using their name or email address. All you need to do is start typing their name or email and then select the correct guest from the list that appears. If the guest isn’t listed, you can create a new one using ‘Create New Donor’. If it is a paddle bid event, you can also search for guests using their paddle number if you know it. Step Three: Confirm items and payment details. Ensure that all of the items in the basket are correct and that the guest is happy with their purchase. Once this has been confirmed, you can take payment from them. This step is essential because incorrect payment amounts and details can lead to disputes later. Step Four: Process and accept the payment. At this point, you can process the payment by completing the transaction and helping the guest through the mobile checkout process. Once it has been approved, they will receive a tax receipt if the transaction is eligible for one, and the payment will be available for you to view in the ‘Reports’ section.

You can navigate to your event from the main dashboard in the PayBee app and then select it from there.
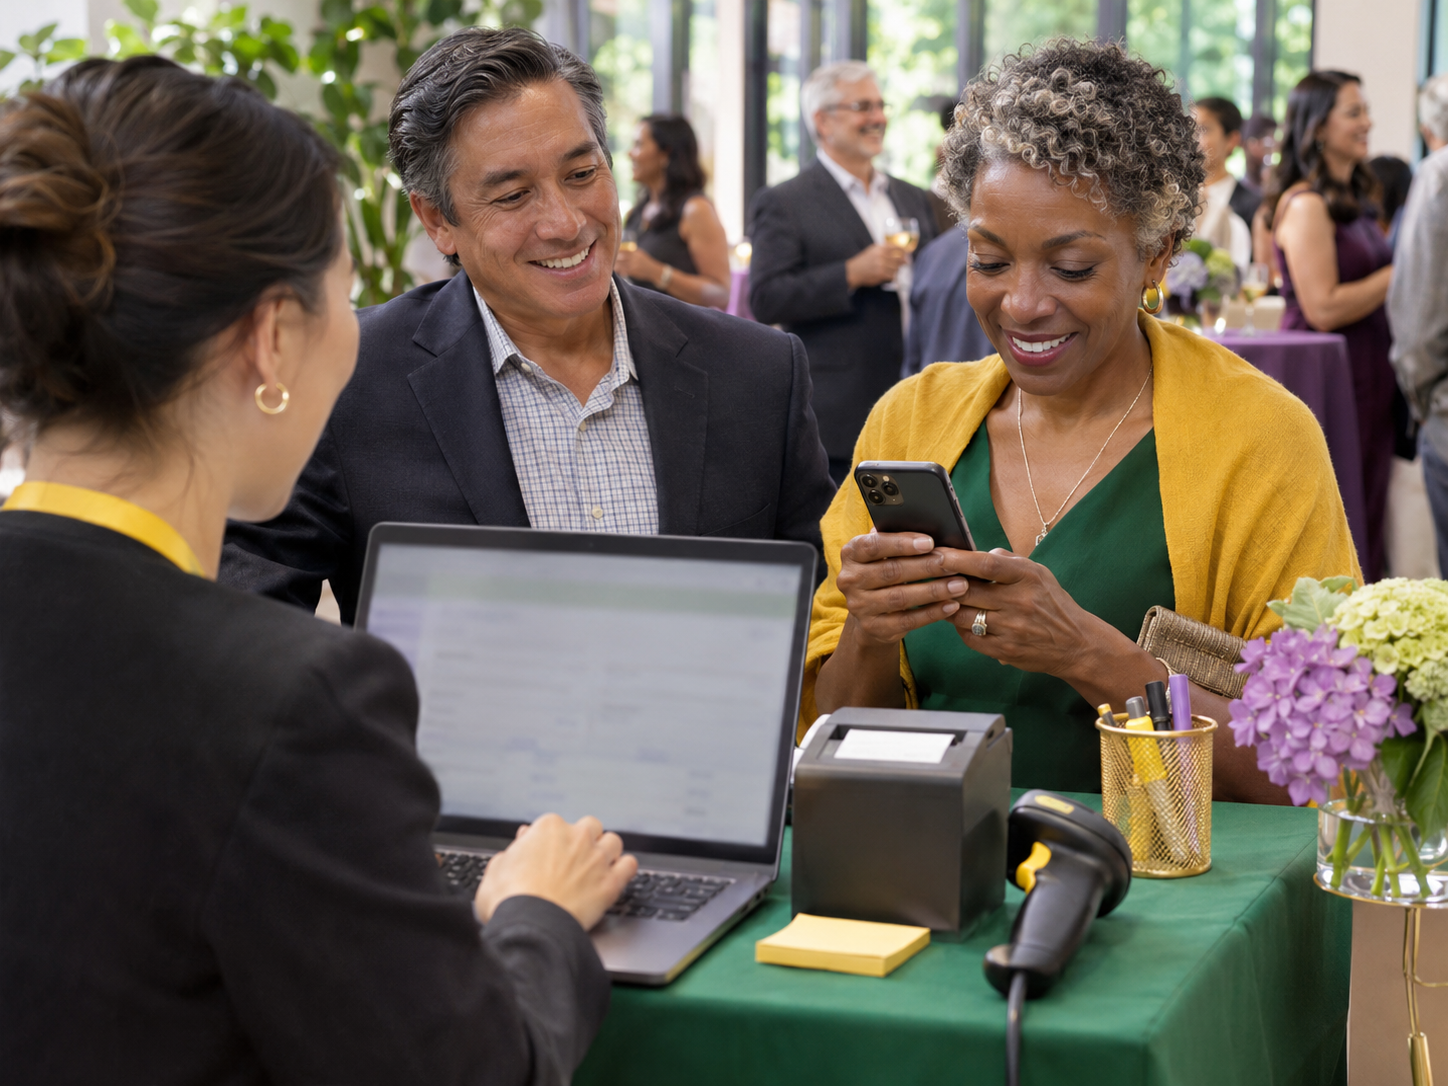
Go to ‘Donor Lookup’ under your event and search for them using their name, email address, or paddle number.

Ensure that all of the items in the basket are correct, take payment, and complete the transaction through mobile checkout.
Ready to turn these steps into a smoother workflow?
Help guests review their activity, complete purchases, and leave the event without waiting in a checkout line.
Bring these capabilities together in one connected platform.
Guests will be able to see the items they have won during auctions, their ticket purchases, any pledges or donations they have made, and raffle tickets. If they have made any add-on purchases, these will also be visible to them on the mobile checkout screen. This gives them a clear overview of everything they have purchased during each event.

Nonprofit self-checkout is easy for guests because all they need to do is scan the QR code on their assigned paddle or tag for the evening. This will open their cart so that they can see what is waiting to be bought and the items they have won. Through this, they will also be able to complete their purchases.

Your staff will be able to help guests with the checkout process and complete it themselves using the PayBee app. They can use things like Tap to Pay to take payments quickly or enter the card details manually if needed through their mobile device. It’s easy for them to pull up the correct cart for the guest in question so that they can assist them properly.

When the event is over, all you need to do is head to the ‘Reports’ section of your PayBee dashboard, and you will be able to see all of the transactions from your current event and past events. This includes any successful mobile fundraising payments that have gone through.

Put these tools to work for your fundraising team.
| Capability | How PayBee helps |
|---|
Explore how PayBee can support your full fundraising workflow.
At PayBee, we have nonprofits at the centre of everything we do. We want to make the experience easier for you, which is why our mobile checkout is simple to use and access for guests and volunteers alike. The most important thing for you is focusing on running an incredible event, and we’re just here to ensure the rest goes as smoothly as possible.
See Mobile Checkout in ActionQuestions, answered
Still deciding? See the platform in action or start building today.