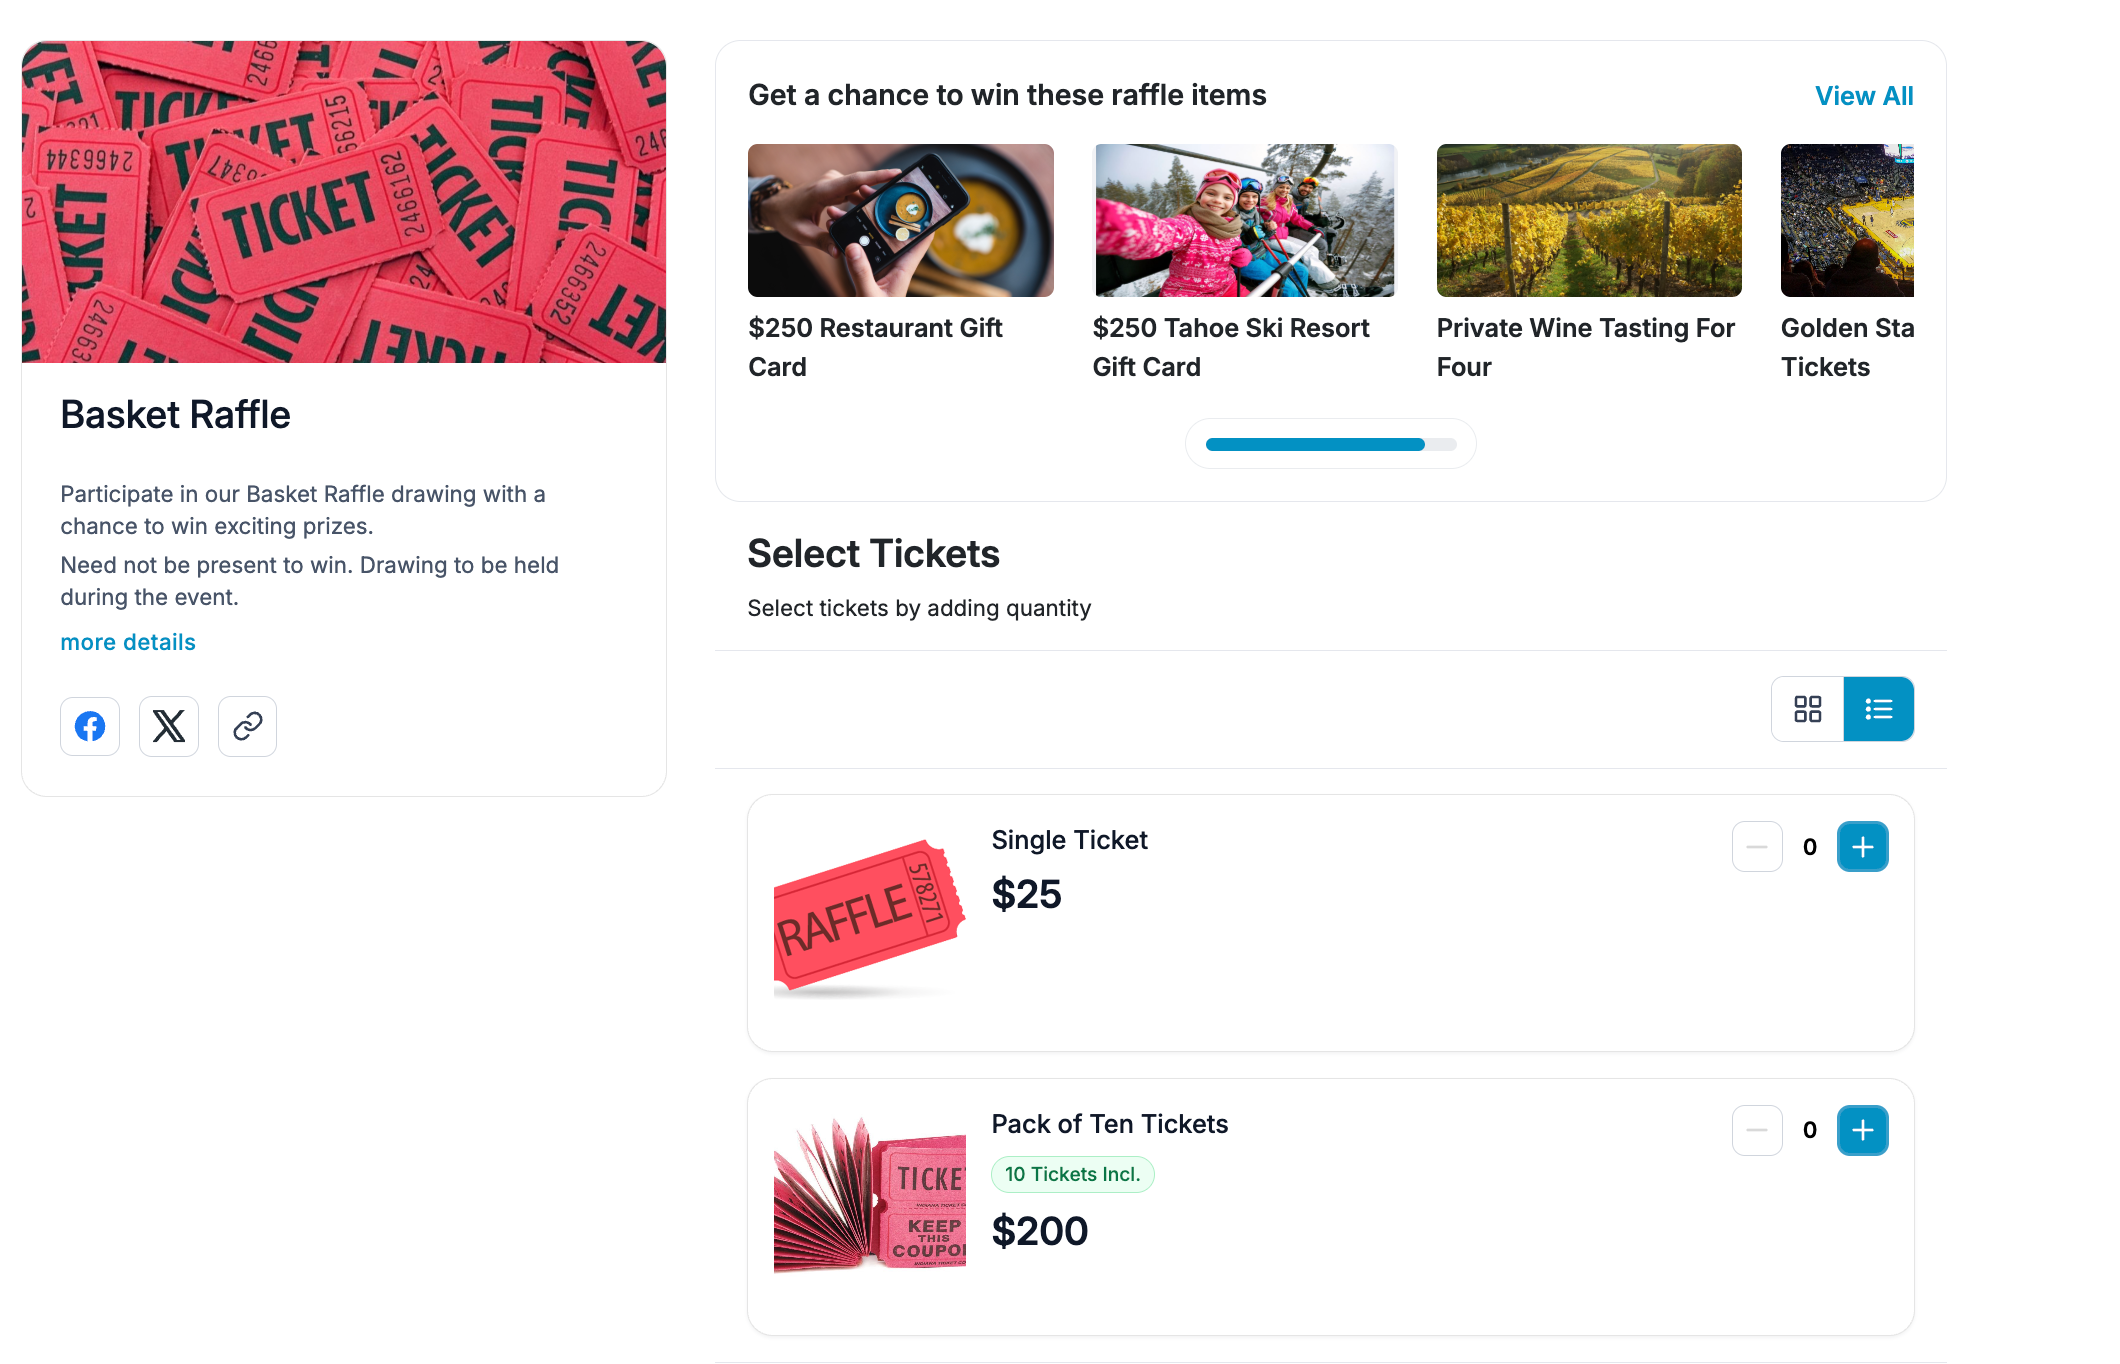
Ask for information with the purchase
Give the pickup team a list
See how this feature can simplify your next fundraiser.


See how this feature can simplify your next fundraiser.
Create a Merchandise campaign, configure separate options for products with different details or inventory, then review paid items, pending carts, and delivery status before handing orders to your fulfillment team.

Go to Campaigns and start a new Merchandise campaign. Give it a name people will recognize and write a description that explains why you are raising money and how customers will get the items. Add the campaign image and time zone. Determine whether you need an overall inventory limit and decide whether the remaining quantity should appear. If your pickup team plans to use receipt QR codes, configure that option before the first purchases.

Create separate options for the products buyers can choose. Add images, a clear option name, a price, and any quantity limits or inventory rules you need. Use option-level questions to collect details that differ by purchase, such as garment size or a pickup preference. A team selling a set of shirts and tote bags may need different fields for each item. Check the buyer view so the description and required answers are clear on a phone.

Open the campaign from Manage and choose Merchandise to review Paid and Pending. Use the paid list to prepare stock, filter purchases, and see whether an item has been delivered. The pending view gives you context for carts that still need payment. Use a receipt QR reminder if it fits your pickup plan, and make sure volunteers know how to find an order by name when a supporter does not have their code.
Ready to turn these steps into a smoother workflow?
A fundraiser merchandise sale can create work well after buyers have paid. The people ordering shirts may need to enter a size, while the people staffing the pickup table need a list of names, items, and quantities. PayBee’s Merchandise campaign lets you collect useful information with the purchase. Manage the resulting paid and pending records from the campaign and decide how your team will handle in-person sales and delivery. If you plan to sell on the day of an event, prepare a clear line for pickup questions and a backup way to find an order.
Bring these capabilities together in one connected platform.
Add more than one photo when it helps someone choose. For a shirt, show the color or artwork and include any size notes in the description. A separate option can have its own photos, availability dates, and purchase questions. Ask your team to walk through the buyer view once before sharing the sale.
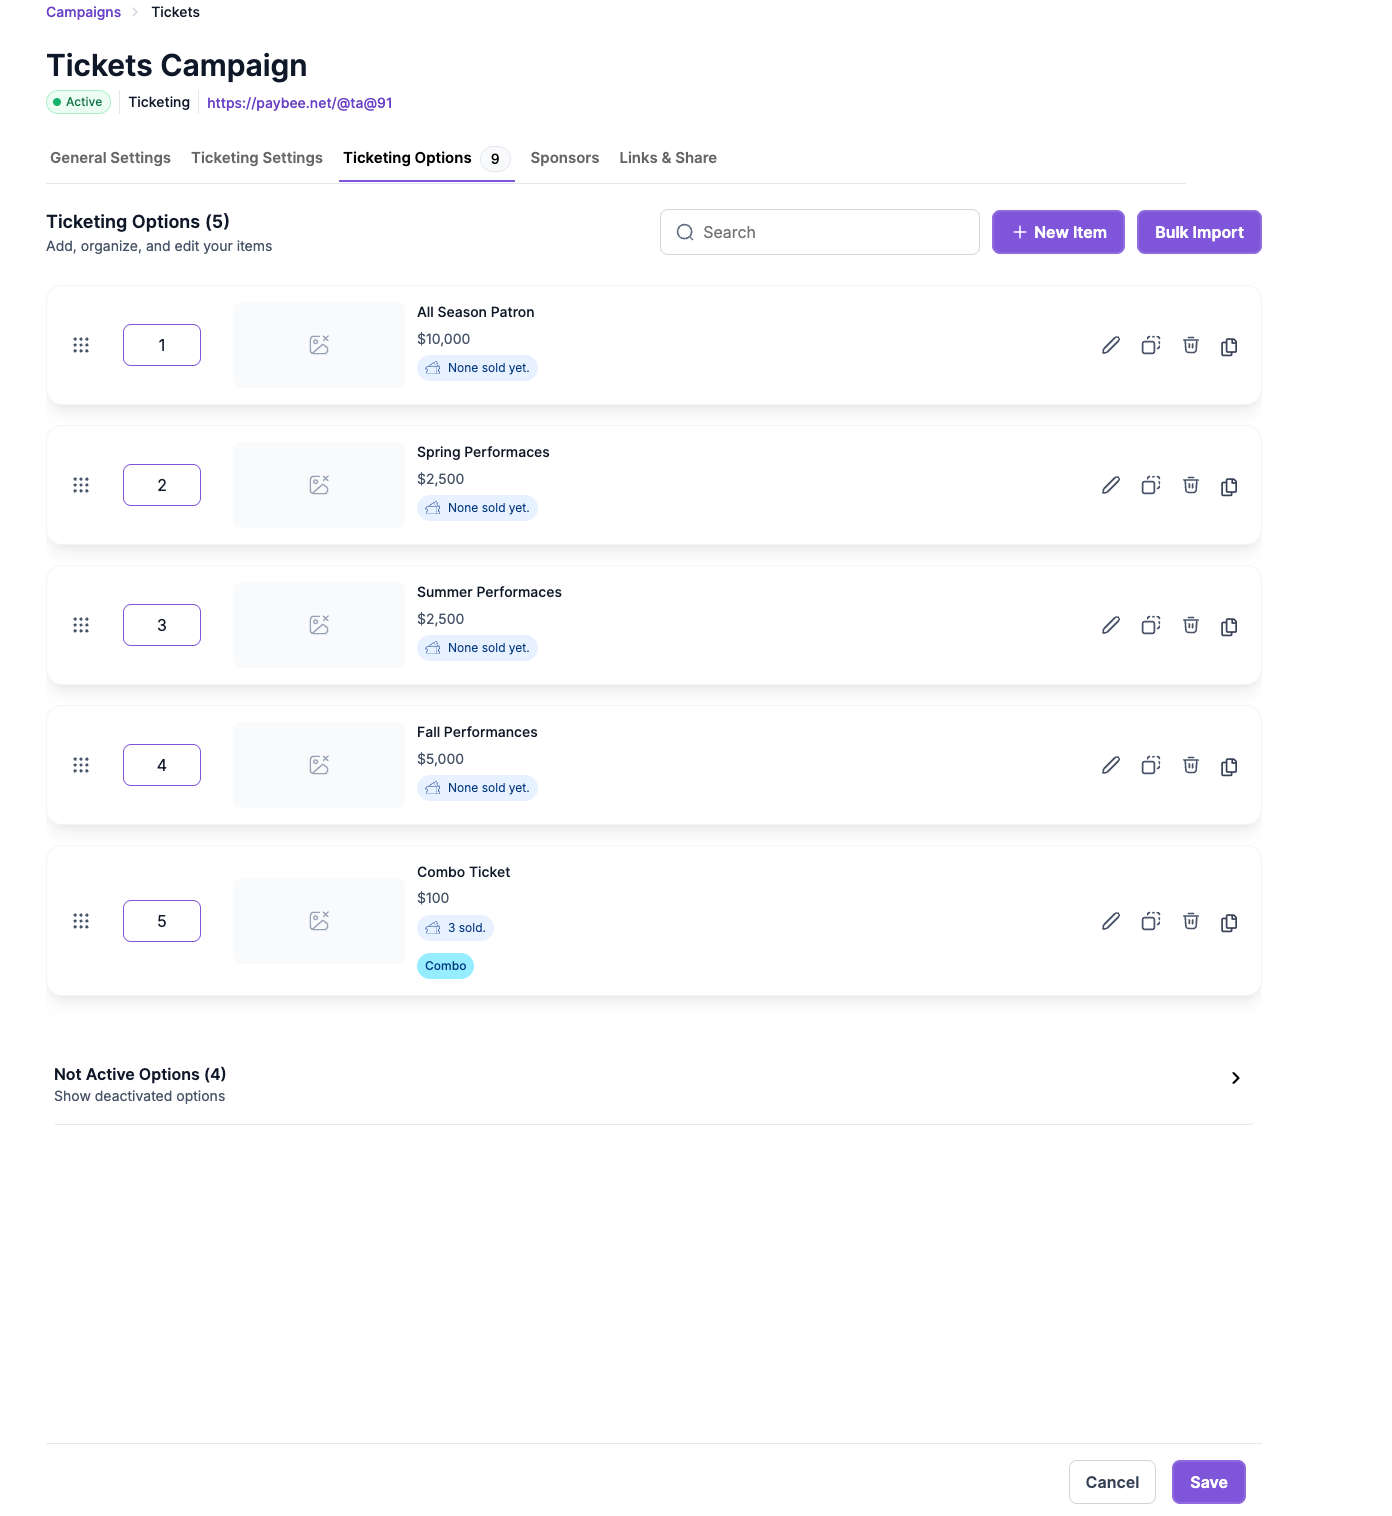
An overall inventory limit is useful when several choices draw from a shared supply. An option limit works when a specific product has a fixed quantity. Decide whether to show remaining inventory, and review how a sold-out item appears to buyers. Choose quantities before announcing the sale so the settings reflect what you can fulfill.

Add a question to an option when you need a response for every purchase. Choose a prompt with fixed selections when the answer should be one of several sizes or colors. Use a text or address field where appropriate. Check that the resulting answers appear in the columns your merchandise team expects.

Open the paid purchases table and filter to the products you are preparing. Export the orders when your pickup staff need an offline list. The paid list includes a delivery status, and the campaign supports receipt QR reminders. Ask your team to confirm the order before marking an item delivered or picked up.
Put these tools to work for your fundraising team.
| Capability | How PayBee helps |
|---|
Explore how PayBee can support your full fundraising workflow.
Show PayBee the products you intend to sell and the information your team needs for each one. In a demo, test a small catalog and see how the paid list can support fulfillment. Bring the volunteers who will handle pickup so they can try finding a purchase.
Book a PayBee DemoQuestions, answered
Still deciding? See the platform in action or start building today.