
Match photos to items
Review validation before confirmation
See how this feature can simplify your next fundraiser.


See how this feature can simplify your next fundraiser.
Open the auction campaign and download its Excel template. Prepare the spreadsheet and matching images, upload them through Auction Items, then check the resulting catalog as a bidder would see it.

Go to Campaigns and edit the auction. Open Auction Items, choose Bulk Upload, and download the current template. Share a working copy with the committee and assign one person to combine contributions into the file you will upload. Start with the required information for each item, then agree on which optional fields, such as categories or donor acknowledgments, to use consistently across the catalog.
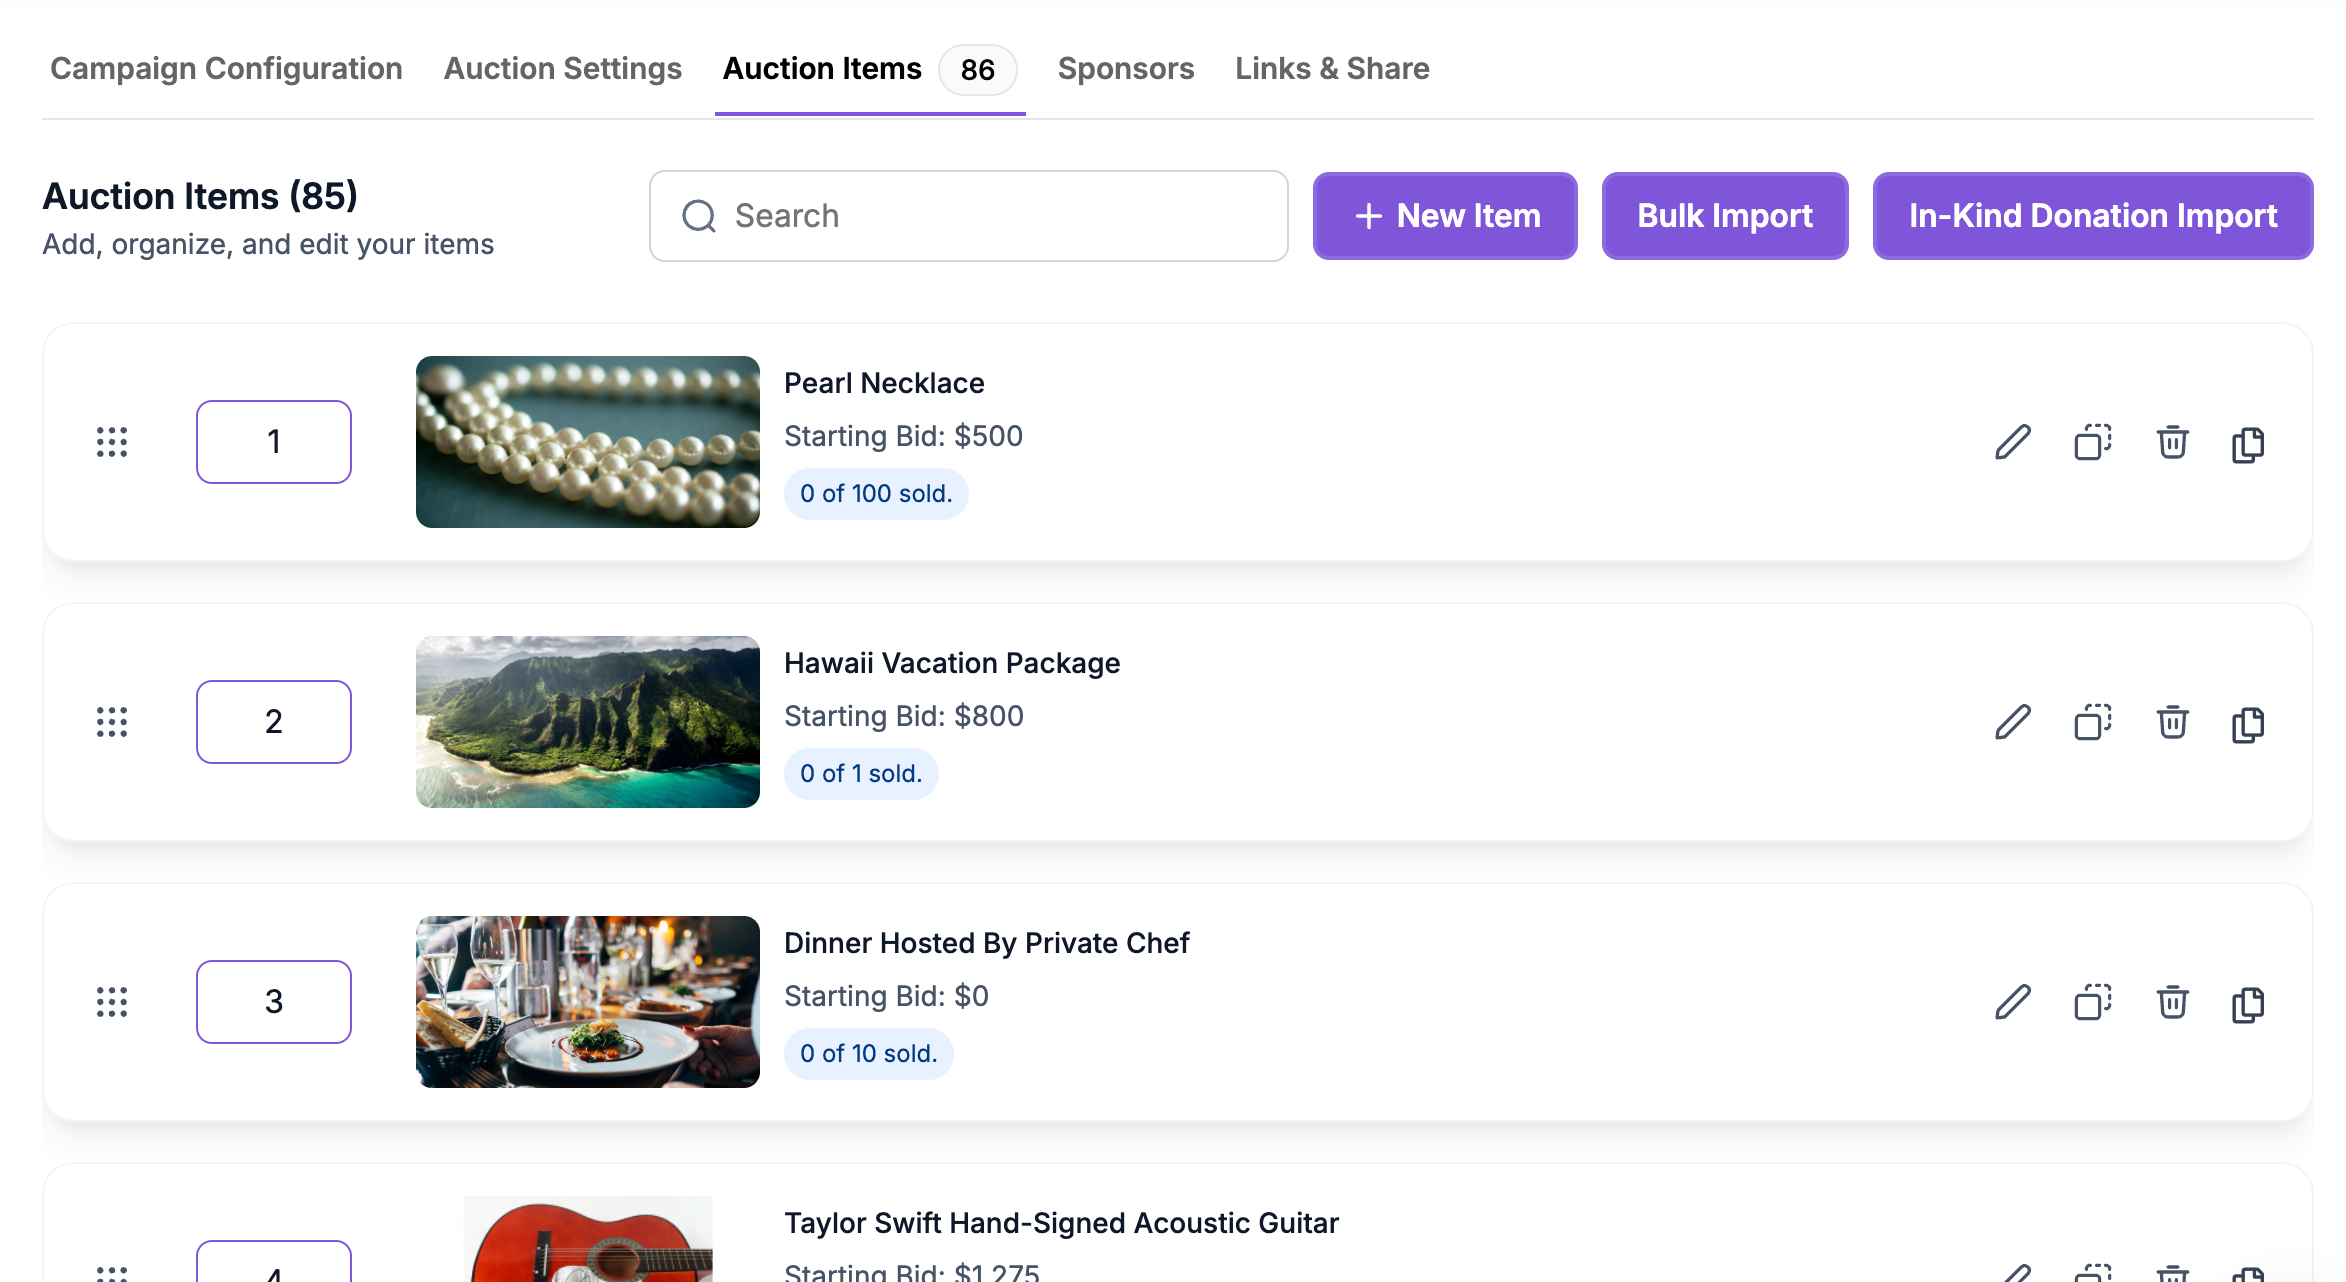
Enter each item in the template with its name, available count, starting bid, and bid increment. Review the instructions for settings such as Buy It Now and sales tax, including the amount columns needed when those settings are enabled. Enter the matching image filename in the row when using a local file. Keep your main and additional images clearly named so the correct picture goes with each listing.
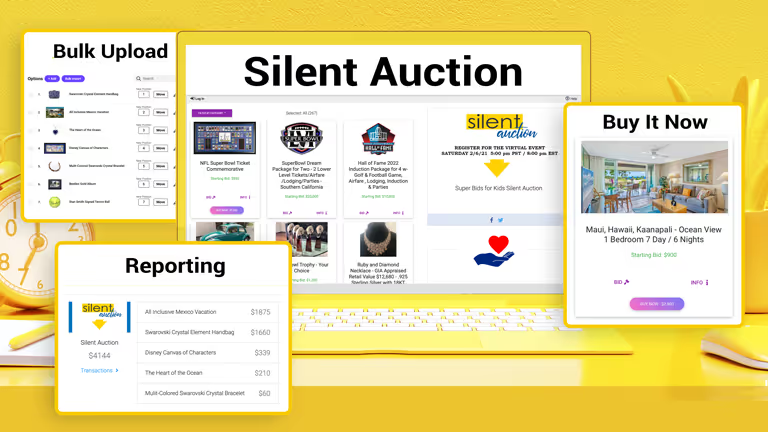
Return to Bulk Upload and select the completed spreadsheet. Continue and correct any errors the importer reports by editing the sheet and uploading it again. When you reach the images step, select the files or folder, upload the images, and confirm after the upload finishes. Open a few entries in Auction Items afterward to check the names, quantities, bids, options, and photos against the spreadsheet.
Ready to turn these steps into a smoother workflow?
Item details often arrive from multiple volunteers, donor emails, and separate photo folders. Use the PayBee template to gather that information in one format before it becomes part of the auction. Fields for quantity, bid amounts, categories, and image filenames let staff prepare many entries together. Upload the spreadsheet, fix reported errors, add photographs, and confirm. Then spot-check the catalog against the source file before sharing it with bidders.
Bring these capabilities together in one connected platform.
Keep the template headers intact and follow the instructions for required and optional fields. Use a unique, recognizable name for each item so staff can match it to the donor record. Check the item count and opening bid with the auction lead before adding any optional description or memo.
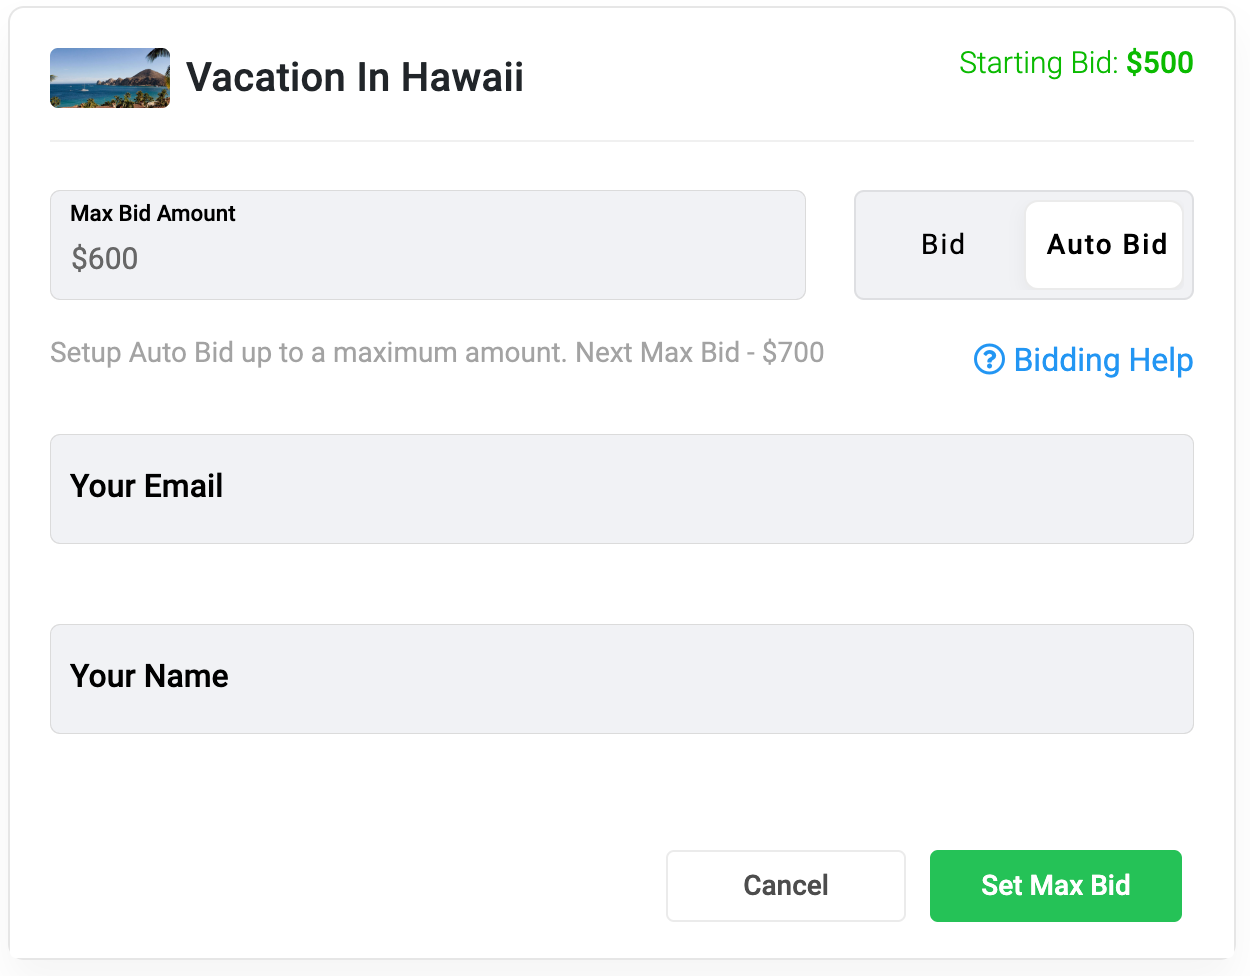
The template supports item quantity, minimum bids, increments, and Buy It Now settings. Fill the accompanying price if Buy It Now is enabled. Use consistent categories and confirm the sales tax decisions with whoever owns them. Preserve a copy of the completed spreadsheet for your team’s review.

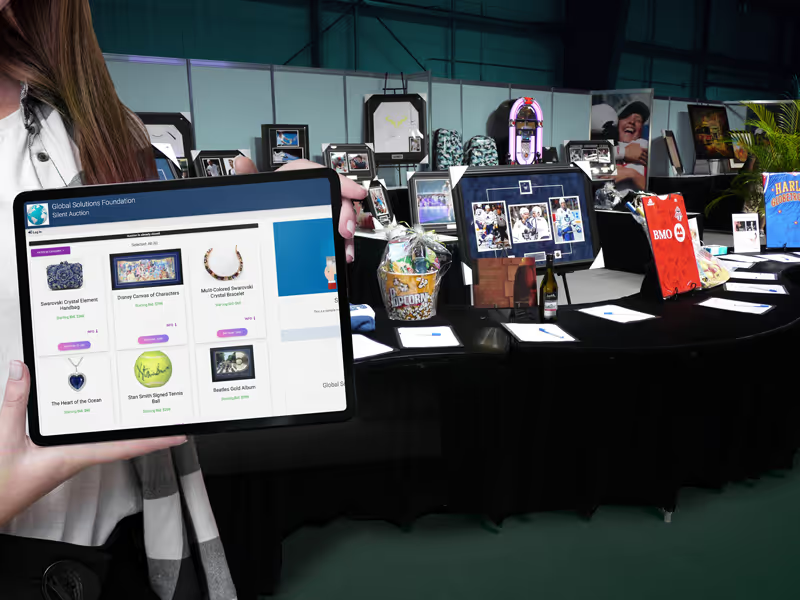
Use the image filename in the corresponding spreadsheet column for local photos, and put those files in a folder you can select during upload. The template also describes additional images. Check a handful of items with similar names after import so a photo from one package does not appear on another.
After uploading the sheet, PayBee reports any validation errors before you continue to images. Correct the affected values and upload the sheet again. Once the import is confirmed, use the Auction Items tab to review the catalog and open individual listings when you need to make changes.

Put these tools to work for your fundraising team.
| Capability | How PayBee helps |
|---|
Explore how PayBee can support your full fundraising workflow.
Bring an example spreadsheet and a few item photos to a demo. Walk through the template and the validation steps your team will use to assemble a catalog. Decide who will check bid amounts and photos before you share the auction.
Book a PayBee DemoQuestions, answered
Still deciding? See the platform in action or start building today.